Web Development, App Development
No sections found
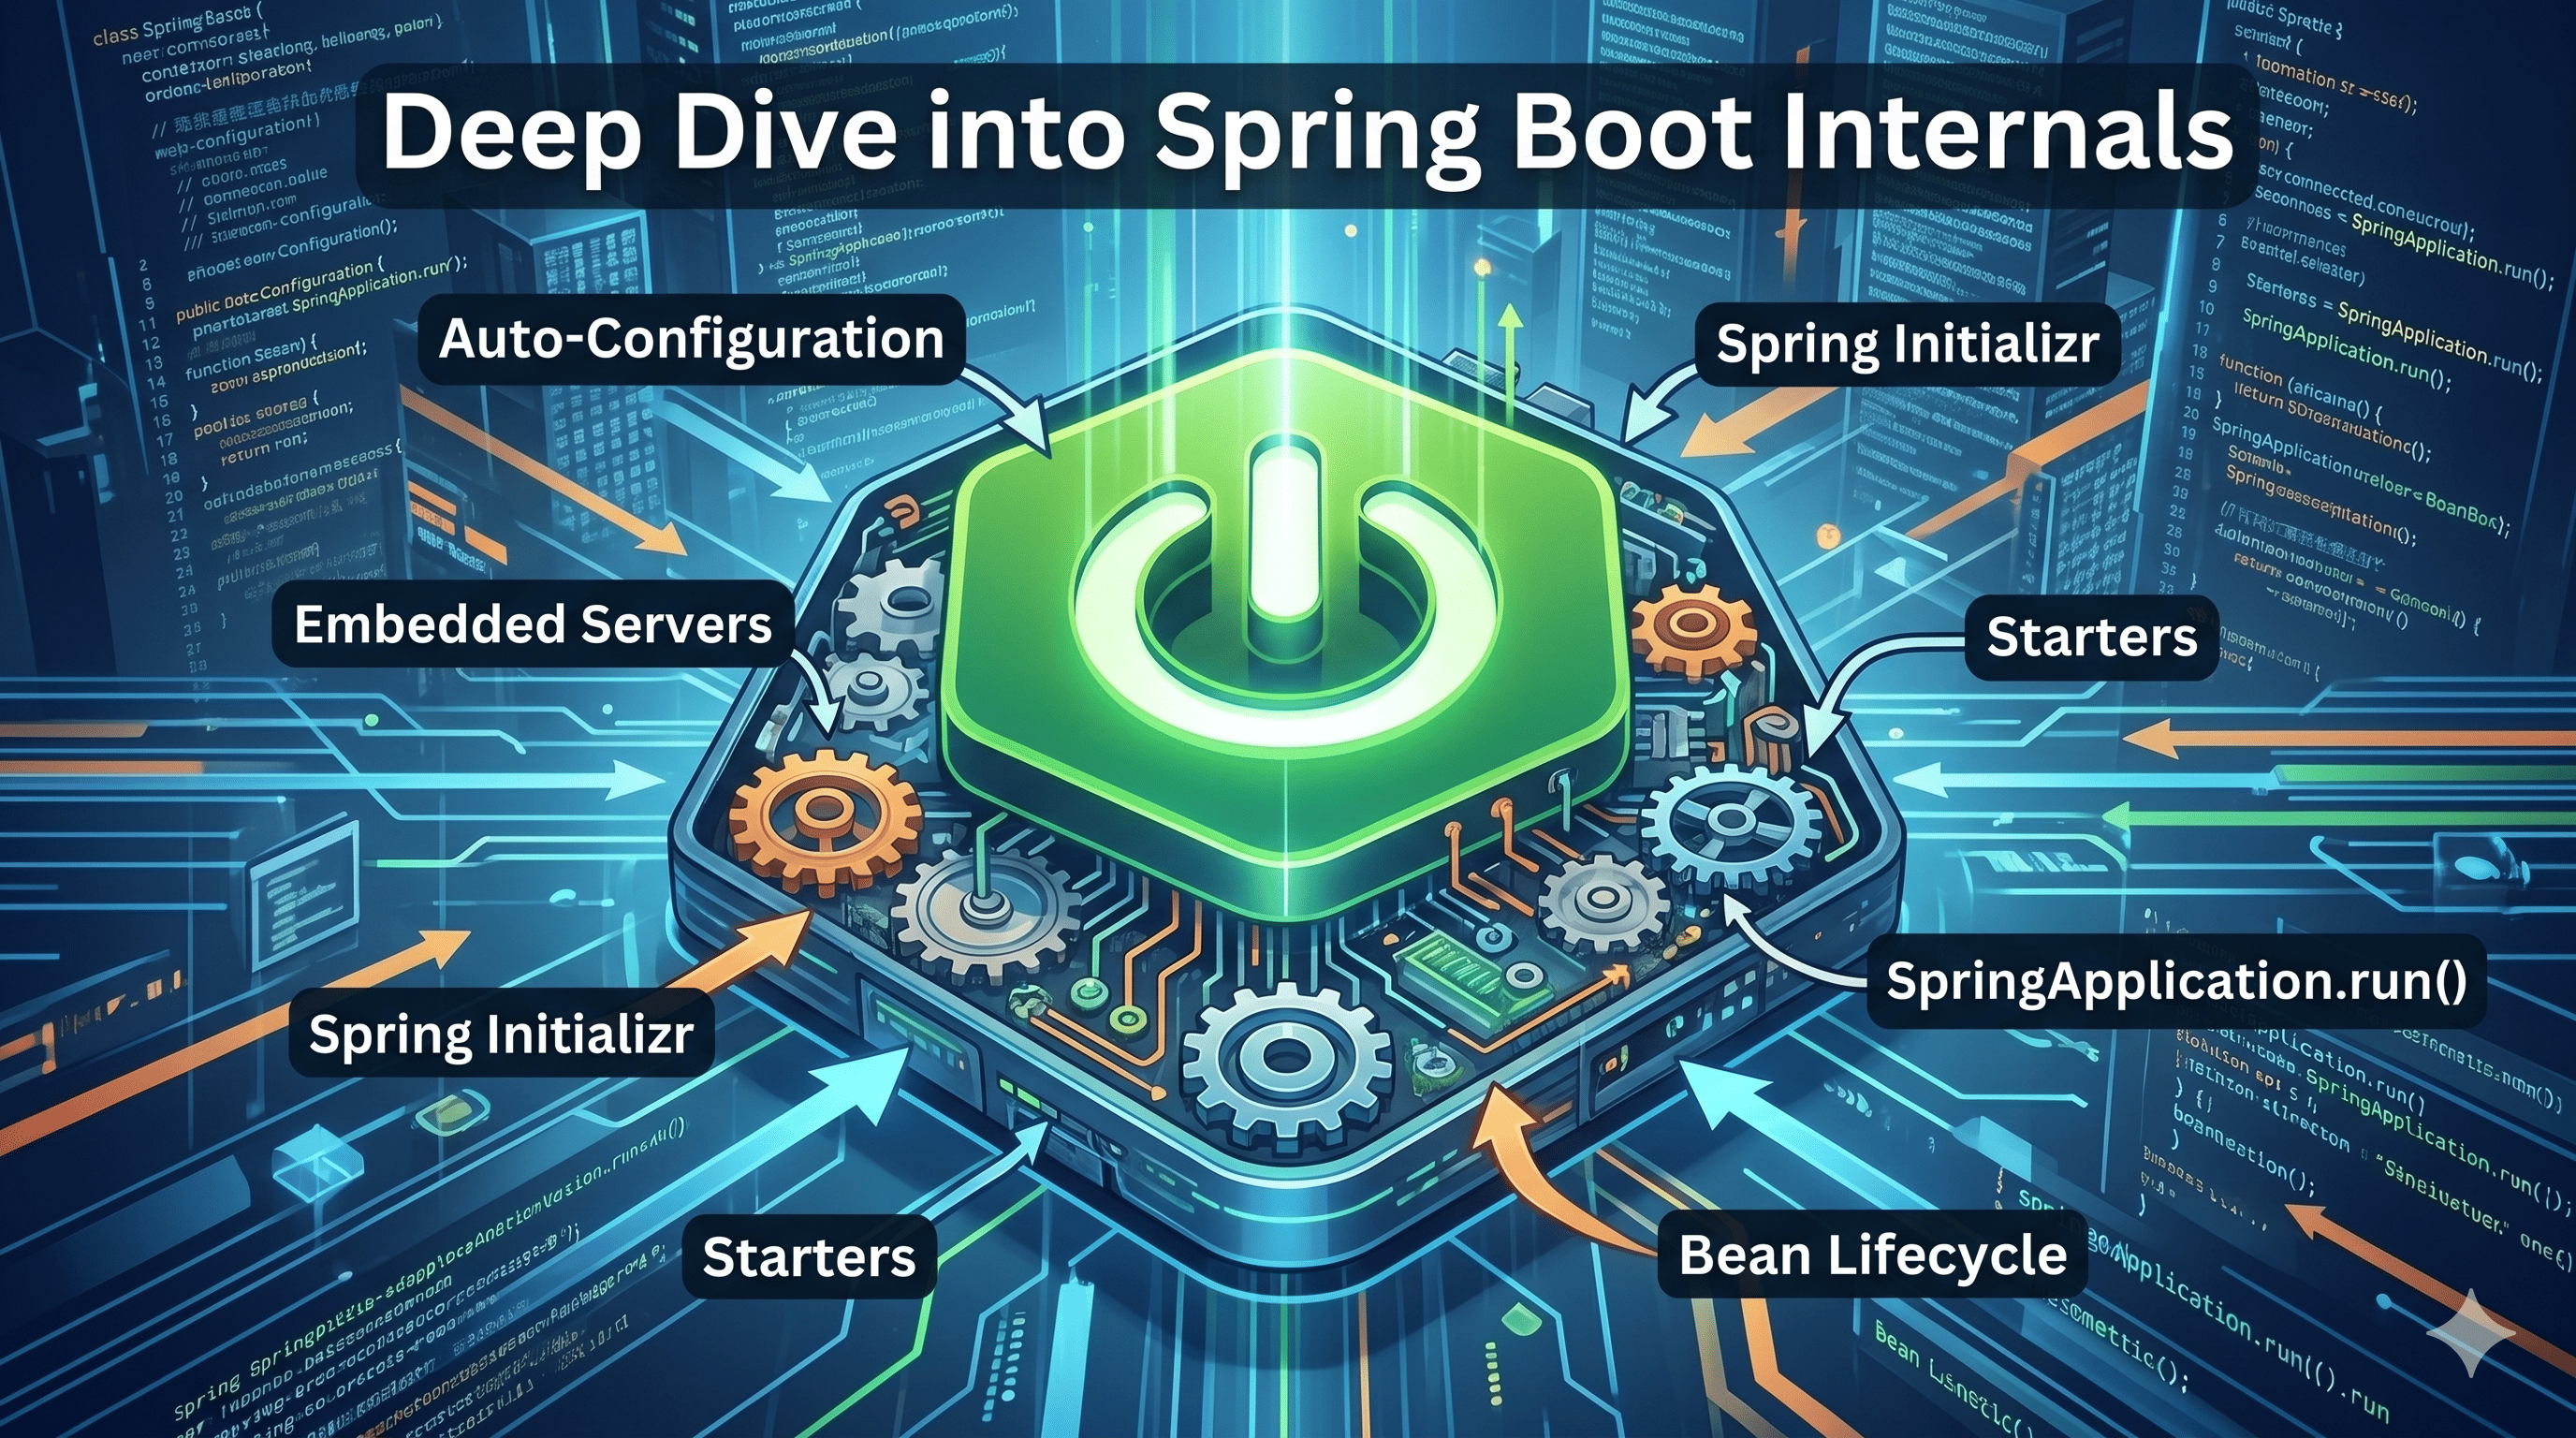
Spring Boot is one of the most popular Java frameworks in the world. Most developers use it daily for write code,run app,it works. But if you want to become truly skilled you need to understand what springboot is doing behind the scenes.
This guide explains the four most important internal areas of Spring Boot, written so that even a beginner can follow along. We will use simple language, real code examples, and analogies to make each concept stick.
When you add a dependency like spring-boot-starter-web to your project, your application automatically gets a web server (Tomcat), JSON support (Jackson), and much more — without you writing a single line of configuration. This is called Auto-Configuration.
💡 Simple analogy: Think of Auto-Configuration like a smart hotel room. As soon as you check in (add a dependency), the lights turn on and the AC adjusts automatically. The hotel (Spring Boot) detected your arrival (classpath) and configured everything for you.
It all starts with one annotation on your main class:

@Configuration
Marks the class as configuration class
Manage @Bean methods (CGLIB Proxy)
If want custom beans then use this annotations
Third party library integration
@EnableAutoConfiguration
If JDBC present? Then DataSource config, if JPA present? Then Hibernate config,if web present then Dispatcher servlet config
@ComponentScan
@ComponentScan("com.myapp") scan given classpath
Scan @Component,@Service,@Repository,@Controller finds and convert in BeanDefinition or register BeanDefinition(not create beans)
We use SpringApplication.run() to start the application, and springboot takes care of configuring the embedded web server and other necessary components.
App Starts: SpringApplication.run() is called. Spring starts creating the ApplicationContext.
Reads the List: Spring Boot reads a special file inside spring-boot-autoconfigure.jar that lists all available auto-configurations.
Loads Candidates: 150+ configuration classes are loaded as candidates (WebMvcAutoConfiguration, DataSourceAutoConfiguration, etc.)
@Conditional Evaluation: Each configuration class is checked against conditions — smart if-else statements that decide whether to apply the config or not.
Result: Configurations that pass all conditions are applied. Those that fail are silently skipped.
| Annotation | Meaning | Example |
| @ConditionalOnClass |
Only configure if this class exists on classpath |
Configure DataSource only if JDBC driver is present |
| @ConditionalOnMissingBean |
Only configure if YOU have NOT defined your own bean | Use default DataSource only if user has not made their own |
| @ConditionalOnProperty |
Only configure if a specific property is set | Enable caching only if spring.cache.type is set |
| @ConditionalOnWebApplication | Only configure in a web application | Configure Tomcat only in web apps |
✅ Key Takeaway: Auto-configuration is NOT magic. It is just smart conditional logic. Spring Boot checks your classpath and your beans, then decides what to configure. You can always override it by defining your own bean.
In Spring, a Bean is simply a Java object that is managed by the Spring Container (also called the ApplicationContext). When you annotate a class with @Component, @Service, @Repository, or @Bean, you are telling Spring: 'Please create and manage an object of this class for me.
🍽️ Analogy: Imagine a restaurant. Instead of every waiter going to the store to buy ingredients themselves, there is one central kitchen (Spring Container) that manages all ingredients (Beans). Waiters just ask the kitchen for what they need.
A Spring Bean goes through a well-defined lifecycle from birth to death:
| Lifecycle Stage | What Happens |
| 1. Instantiation | Spring calls the constructor to create the object |
| 2. Property Population | Spring injects all @Autowired dependencies |
| 3. BeanNameAware | Spring tells the bean its name in the container |
| 4. ApplicationContextAware | Spring gives a reference to the ApplicationContext |
| 5. @PostConstruct | Your custom initialization code runs — perfect for setup |
| 6. Bean is Ready | Fully initialized, available to be used by other beans |
| 7. @PreDestroy | Your cleanup code runs before the container shuts down |
Spring boot architecture is a layered structure built on the core spring framework. This architecture commonly divided into four main layers and several core components
Presentation Layer : This top layer handles incoming http requests from clients,manages request authentication and translates JSON data to Java objects and vice versa. In spring boot this is primarily implemented using controllers,annotated with RestController.
Business Layer : This is where the application’s core business logic,validation, and authorization rules reside. It orchestrates the flow of data and uses Service classes(annotated with Service annotation) to process requests received from controller
Persistence Layer : This layer manages the storage logic and interactions with the database . This is primarily implemented using repository,annotated with Repository
Request Flow
The diagram shows complete request flow when a client makes an HTTP request until they receive a response

We build high-performance web applications, mobile apps, and AI-driven systems. Let's discuss how we can help you achieve measurable growth.